Clicker 8

Introduction
- Overview
- Audio / Video
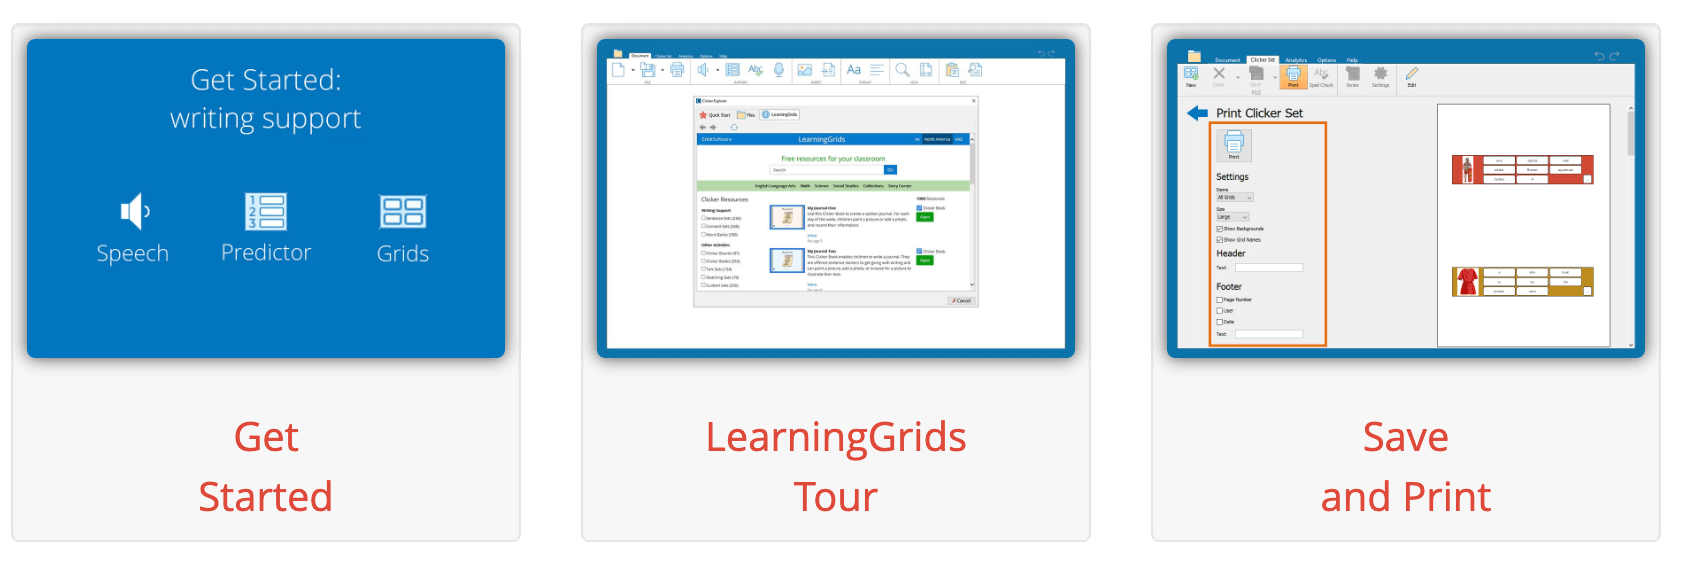
Clicker 8 is a writing solution offering a wide range of support for students. The components provide opportunities to practice skills and compose. Students can create books on topics, can build webs and fill in cloze exercises. Within the word processor there are overlay grids which offer support in choosing vocabulary and composing sentences. Customizable supports include:
- pictures to accompany vocabulary
- read aloud to support editing
- word prediction & spell check to improve composition
There are six learning modules included here – everything from the basics to customizing Clicker for a variety of access needs. Each module includes an overview, a video tutorial, and pdf resources.
Check out the video tab to learn more about Clicker 8.
Module 1 – Clicker 8 Basics
- Overview
- Audio / Video
- Resources
In the Video tab, follow the link to Cricksoft’s website to explore a series of videos which cover ‘Clicker 8 Basics.’ These tutorials are the perfect place to get you started. You’ll learn how to customize word prediction, read aloud, and picture support options. There are also video tutorials for creating and editing cloze exercises, writing grids, planning boards, Clicker books, matching, talking, and custom sets.
The Resources tab has a number of ‘how to’ step-by-step instructions in pdf form.
Cricksoft has a great collection of video tutorials to cover Clicker 8 basics.
Module 2 – Creating a Landing Page
- Overview
- Audio / Video
- Resources
A Landing Page is a great way for a student to be more independent working with various Clicker files. From the Landing Page, the student can click to linked Clicker files and a home button can take the student right back to the Landing Page. A Landing Page acts as a ‘Clicker Desktop’ allowing a student to navigate to Clicker files that have been designed for them.
Check out the video tab to learn how to create a Landing Page. The Resources tab contains instructions in pdf form.
Module 3 – Customizing Clicker for Eye Gaze & Switch Users
- Overview
- Video 1
- Video 2
- Resources
Both eye gaze and switch users can work with Clicker 8. This module has two accompanying videos.
The first video reviews settings for eye gaze and switch users. How to set up one or two switches, how to control the dwell time and how to customize the onscreen keyboard options, are examples of settings that can be controlled here.
The second video reviews how to adjust elements within an existing custom set. These adjustments may allow better access for your student. For example, users may benefit from increased button size or button position for ease of targeting. Additionally, you’ll learn how to have text read aloud within a custom set.
If you are looking to learn how to create a Clicker custom set, please check out Module 1: Clicker 8 Basics and look for ‘Custom Set’ on Cricksoft’s video tutorial page.
Check out the video tab to learn how to customize Clicker for eye gaze and switch users. The Resources tab contains instructions in pdf form.
Module 4 – Customizing Display Options
- Overview
- Audio / Video
- Resources
There are several ways to customize Clicker’s display to meet user’s needs. Some users benefit from having larger icons or icons with high contrast colour. Perhaps you have users needing larger font or highlighted cells. Keyboard options include the QWERTY keyboard, an alphabetical keyboard and a keyboard organized by letter frequency. Display Options also allows you to select which commands you want to have available in the Clicker ribbon. Removing unwanted commands simplifies the appearance and reduces distraction.
Check out the video tab to learn how to customize Display Options. The Resources tab contains instructions in pdf form.
Module 5 – Using Password Features
- Overview
- Audio / Video
- Resources
This tutorial explains how to set up a password to prevent unwanted access to certain features, such as editing a Clicker set. Note that the password only applies to the local computer where it was setup. In the case where there was a network installation of Clicker 8, this password setting will affect every computer on the network.
Check out the video tab to learn how to use Password Features. The Resources tab contains instructions in pdf form.
Module 6 – Customizing the Explorer
- Overview
- Audio / Video
- Resources
Setting up a straightforward filing system can save a lot of time when searching for a Clicker file or document. In this tutorial, you’ll learn how to customize the Explorer so files and documents are saved directly to the location you choose. You can hide the other storage locations so a student can not inadvertently save their work in the wrong place.
Check out the video tab to learn how to customize the Explorer. The Resources tab contains instructions in pdf form.
Resource Overview
Resource Topic
- Literacy
Tools & Technologies
- App/Software
- Clicker
- Word Processor
File Types
- Clicker